Overlaying text on images
A journey towards Open Graph images
Planted January 19, 2025
When you post content to a blog from a website, it looks for certain metadata to know how to preview the content. If the right metadata is present, then you get a lovely unfurling, if not it’s pretty ugly.
For content heavy sites, like blogs, you often want the image to be dynamic - to tell the reader something about the content they are going to click on. This is particularly relevant for sharing on social media.
This image is referred to as an Open Graph image and I want to talk about some ways to generate them.
Using Cloudinary
Every site I’ve worked on over the past 10 years or more has had OG images. If you are using a CMS, there will be a plugin that will do this work for you. When you’re building your own solution though, you’ll have to do that work yourself.
One way you can handle this is to use a tool that specialises in image hosting and optimisation like Cloudinary (this is not a sponsored post and I’m not affiliated with them).
Cloudinary allows you to serve an image and, in the url parameters, adjust that image in very specific ways. One way in particular is to add text across an image. This is the way I do it on my site.
Here’s an example of the url for the OG image from this post:
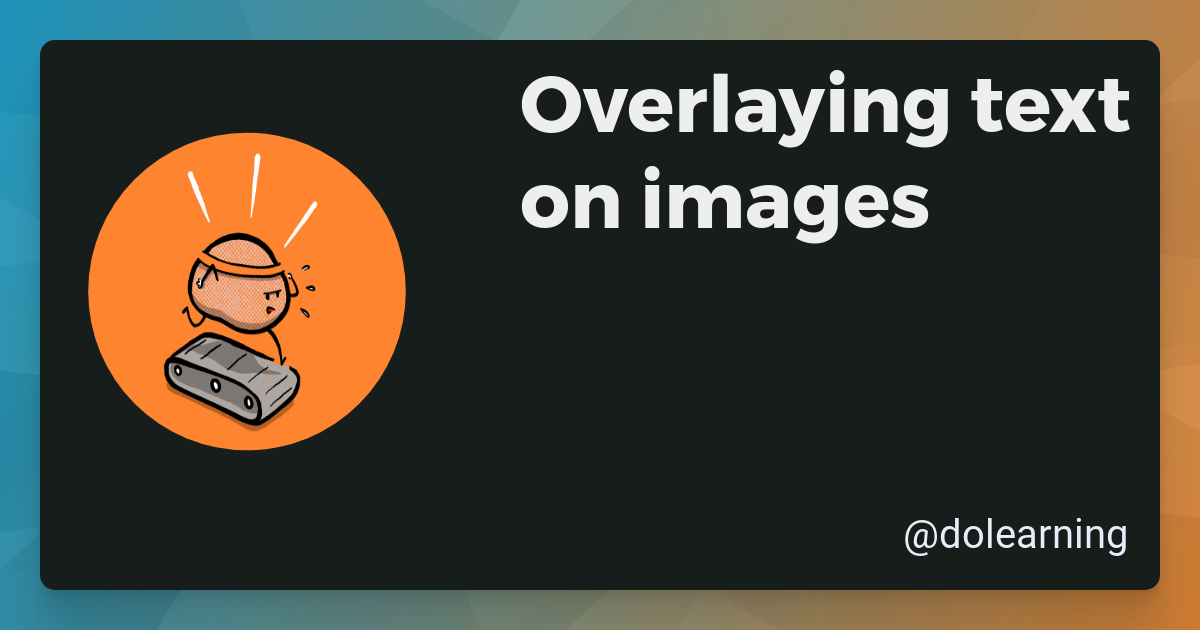
https://res.cloudinary.com/kc-cloud/w_1200,f_auto/l_text:Montserrat_80_bold:Overlaying%20text%20on%20images,co_rgb:eee,c_fit,w_720,g_north_east,x_70,y_70/v1616954922/ogimages/base_wfdl2u.png`and that renders as this:

The url is selecting the image to use, setting the width and height, adding the text, setting the colour and position of the text and then rendering the image.
Let’s play with this a little bit. The start and the end will stay the same:
https://res.cloudinary.com/kc-cloud/ ... /ogimages/base_wfdl2u.pngbut we can change the text, the colour and the position.
The text is set with l_text:Montserrat_80_bold:Overlaying%20text%20on%20images. The font is Montserrat, the size is 80 and it’s bold. The text is “Overlaying text on images”. You’ll notice that the spaces are replaced with %20 which is the url encoding for a space.
Try changing that piece of the url here:
https://res.cloudinary.com/kc-cloud/w_1200,f_auto/ ,co_rgb:eee,c_fit,w_720,g_north_east,x_70,y_70/v1616954922/ogimages/base_wfdl2u.png
You can play around and change the font style and text content.
There are a few other parameters you can play with:
co_rgb:eeesets the colour of the textc_fitsets the text to fit within the imagew_720sets the width of the textg_north_eastsets the position of the textx_70andy_70set the offset of the text
I’ll leave you to play with those parameters in your address bar.
There are full docs on the Cloudinary website if you want to go deeper.
A browser based solution
While I was working on the Cloudinary url, I wondered how easy it would be to create a browser based implementation of this functionality. I thought it would be fun to try out and it turns out with the canvas api it’s pretty straightforward.
Add text to image
A Node based solution
So, I then I thought how I could make this into a Node program that could be deployed to a serverless instance. I could then call this program with the text I wanted to overlay and the image I wanted to overlay it on.
Thankfully there is a Node implementation of the canvas api called node-canvas. This is a pretty powerful library that allows you to do a lot of things with images.
I’ve created a simple program that takes in the text and the image and then overlays the text on the image.
import { createCanvas, loadImage } from "canvas";import * as fs from "node:fs";
interface TextOverlayOptions {  text: string;  x: number;  y: number;  fontFamily?: string;  fontSize?: number;  color?: string;  outputFilePath?: string;}
async function addTextToImage(  imagePath: string,  options: TextOverlayOptions): Promise<void> {  const {    text,    x,    y,    fontFamily = "Arial",    fontSize = 48,    color = "black",    outputFilePath = "output.png",  } = options;
  const image = await loadImage(imagePath);  const canvas = createCanvas(image.width, image.height);  const context = canvas.getContext("2d");
  context.drawImage(image, 0, 0);  context.font = `${fontSize}px ${fontFamily}`;  context.fillStyle = color;  console.log(text, x, y);  context.fillText(text, x, y);
  const buffer = canvas.toBuffer("image/png");  fs.writeFileSync(outputFilePath, buffer);  console.log(`Image saved to ${outputFilePath}`);}
// Example usageaddTextToImage("test.png", {  text: "Hello, World!",  x: 150,  y: 150,  fontFamily: "Arial",  fontSize: 48,  color: "red",  outputFilePath: "output.png",}).catch(console.error);
This program takes in an image and some text and then overlays the text on the image. It’s a pretty simple program but it’s a good starting point for building out a more complex solution.
I hope you’ve enjoyed this journey from Cloudinary to the browser to Node. I’ve certainly enjoyed building it out. If you have any questions or comments, please let me know.


